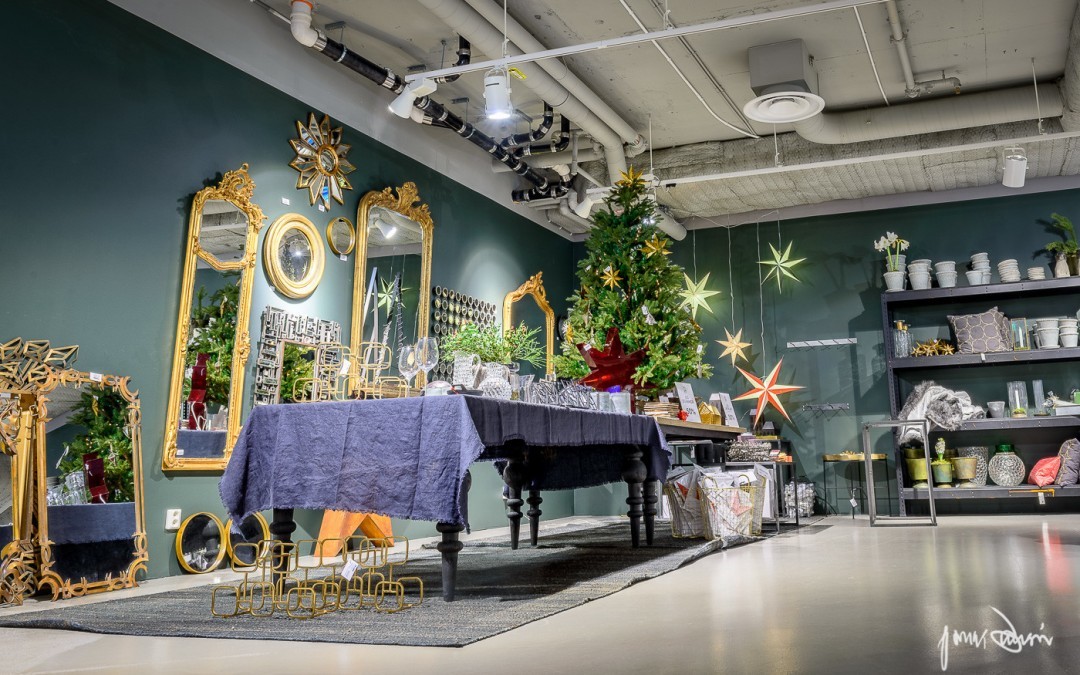
Sometimes the HDR-technique can really pay off and save time, pulled out hair, and money for you and your client. Don’t be afraid of it as some technique only used by artists.
Imagine you have just arrived at your shoot. The lighting on site is great to look at, but complicate things for you in the camera. One solution could be to light the whole room with lots of studio lighting, reflecting screens, etc. But on this job you only have 15 minutes to produce at least 4-5 good images. There is no chance in hell if you don’t have an army of assistants. Maybe your all alone, as for me on this shoot.
Then, a solution for you could be using a simple HDR-technique. Switch your camera to bracketing mode (5 steps) and put the camera on a tripod and use a wired remote. Then find a great composition and just shoot away. Of course, don’t forget to set your camera to continuous shooting.
For me, back in the office on the computer, I used Lightroom for a simple quick fix. Then I selected three images from one serie; The normal exposure, the darkest and the brightest. Then I used Lightrooms built in HDR-filter and went for the “normal” look. A quick fix in photoshop adjusting contrast and levels, the picture came to life in a really nice way. Try yourself to use the technique without making “art” or just simply something “weird”.
Good luck!
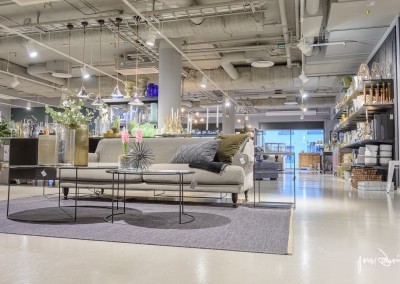
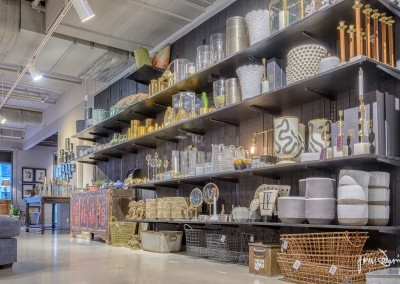
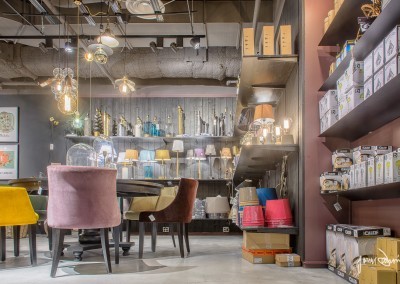
PS: On some assignments you may have a lot more time to both plan and shoot the images, and you can give one single image a whole day in lightroom or photoshop. But on some assignments you don’t have that budget and you still have to produce great images. So take my tip as a simple one and not a complete set of instructions. The images shown are not all the images for the shoot. DS.


